With Zapier, you can connect Responsly to more than 3,000+ apps without help from your IT team 🤓.
Using Responsly as a Zapier trigger, you can send collected survey responses to apps like Google Sheets, Slack, Microsoft Teams, Salesforce, Trello, Asana, and many more.
Before you begin
Make sure you have:
- A Responsly account.
- A Zapier account (free or paid).
- An API key generated in Responsly (needed to authorize Zapier).
Step 1: Generate your API key
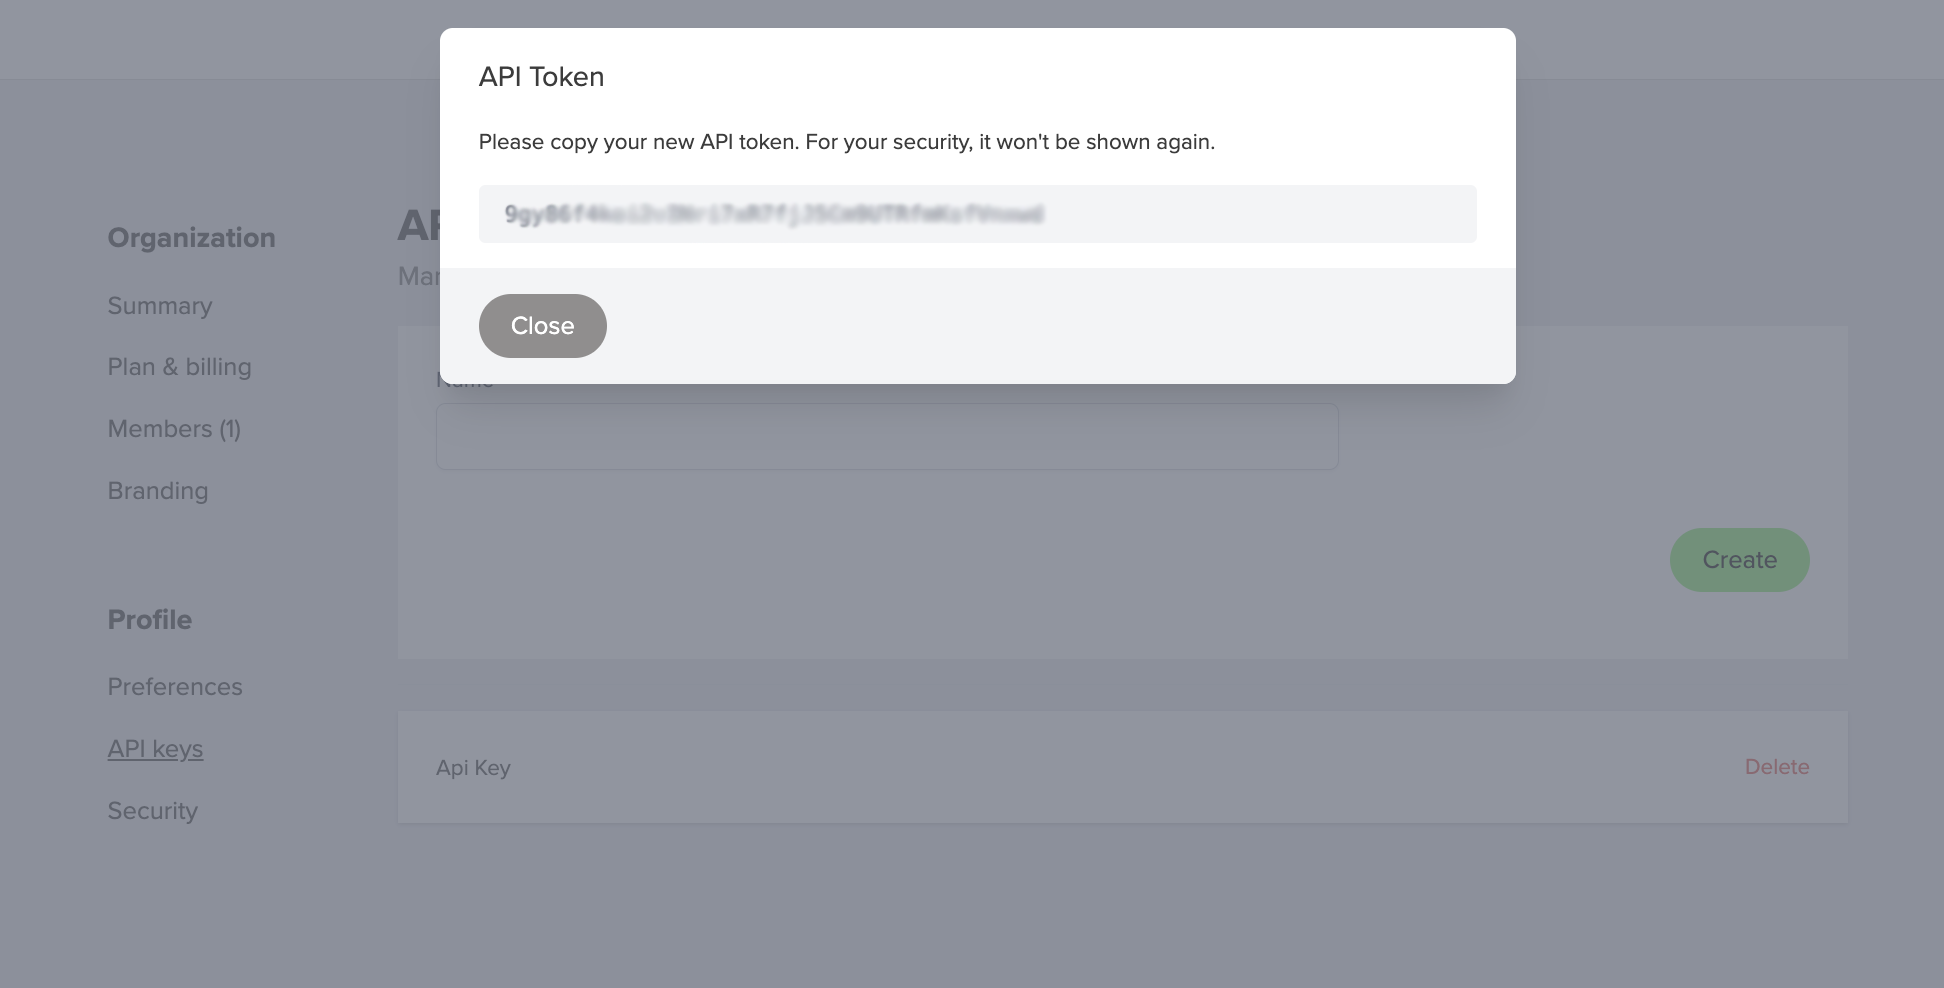
Go to https://app.responsly.com/user/api-tokens
or navigate manually:
- Click My Account in the top navigation menu.
- Select Profile.
- From the left menu, choose API.
- Provide a name for your key (for example:
zapier) and click Create. - Copy the generated API key — it’s unique to your account and you’ll need it to connect Zapier.

Step 2: Activate Zapier integration
- From your Workspaces, open a form that’s ready for integration.
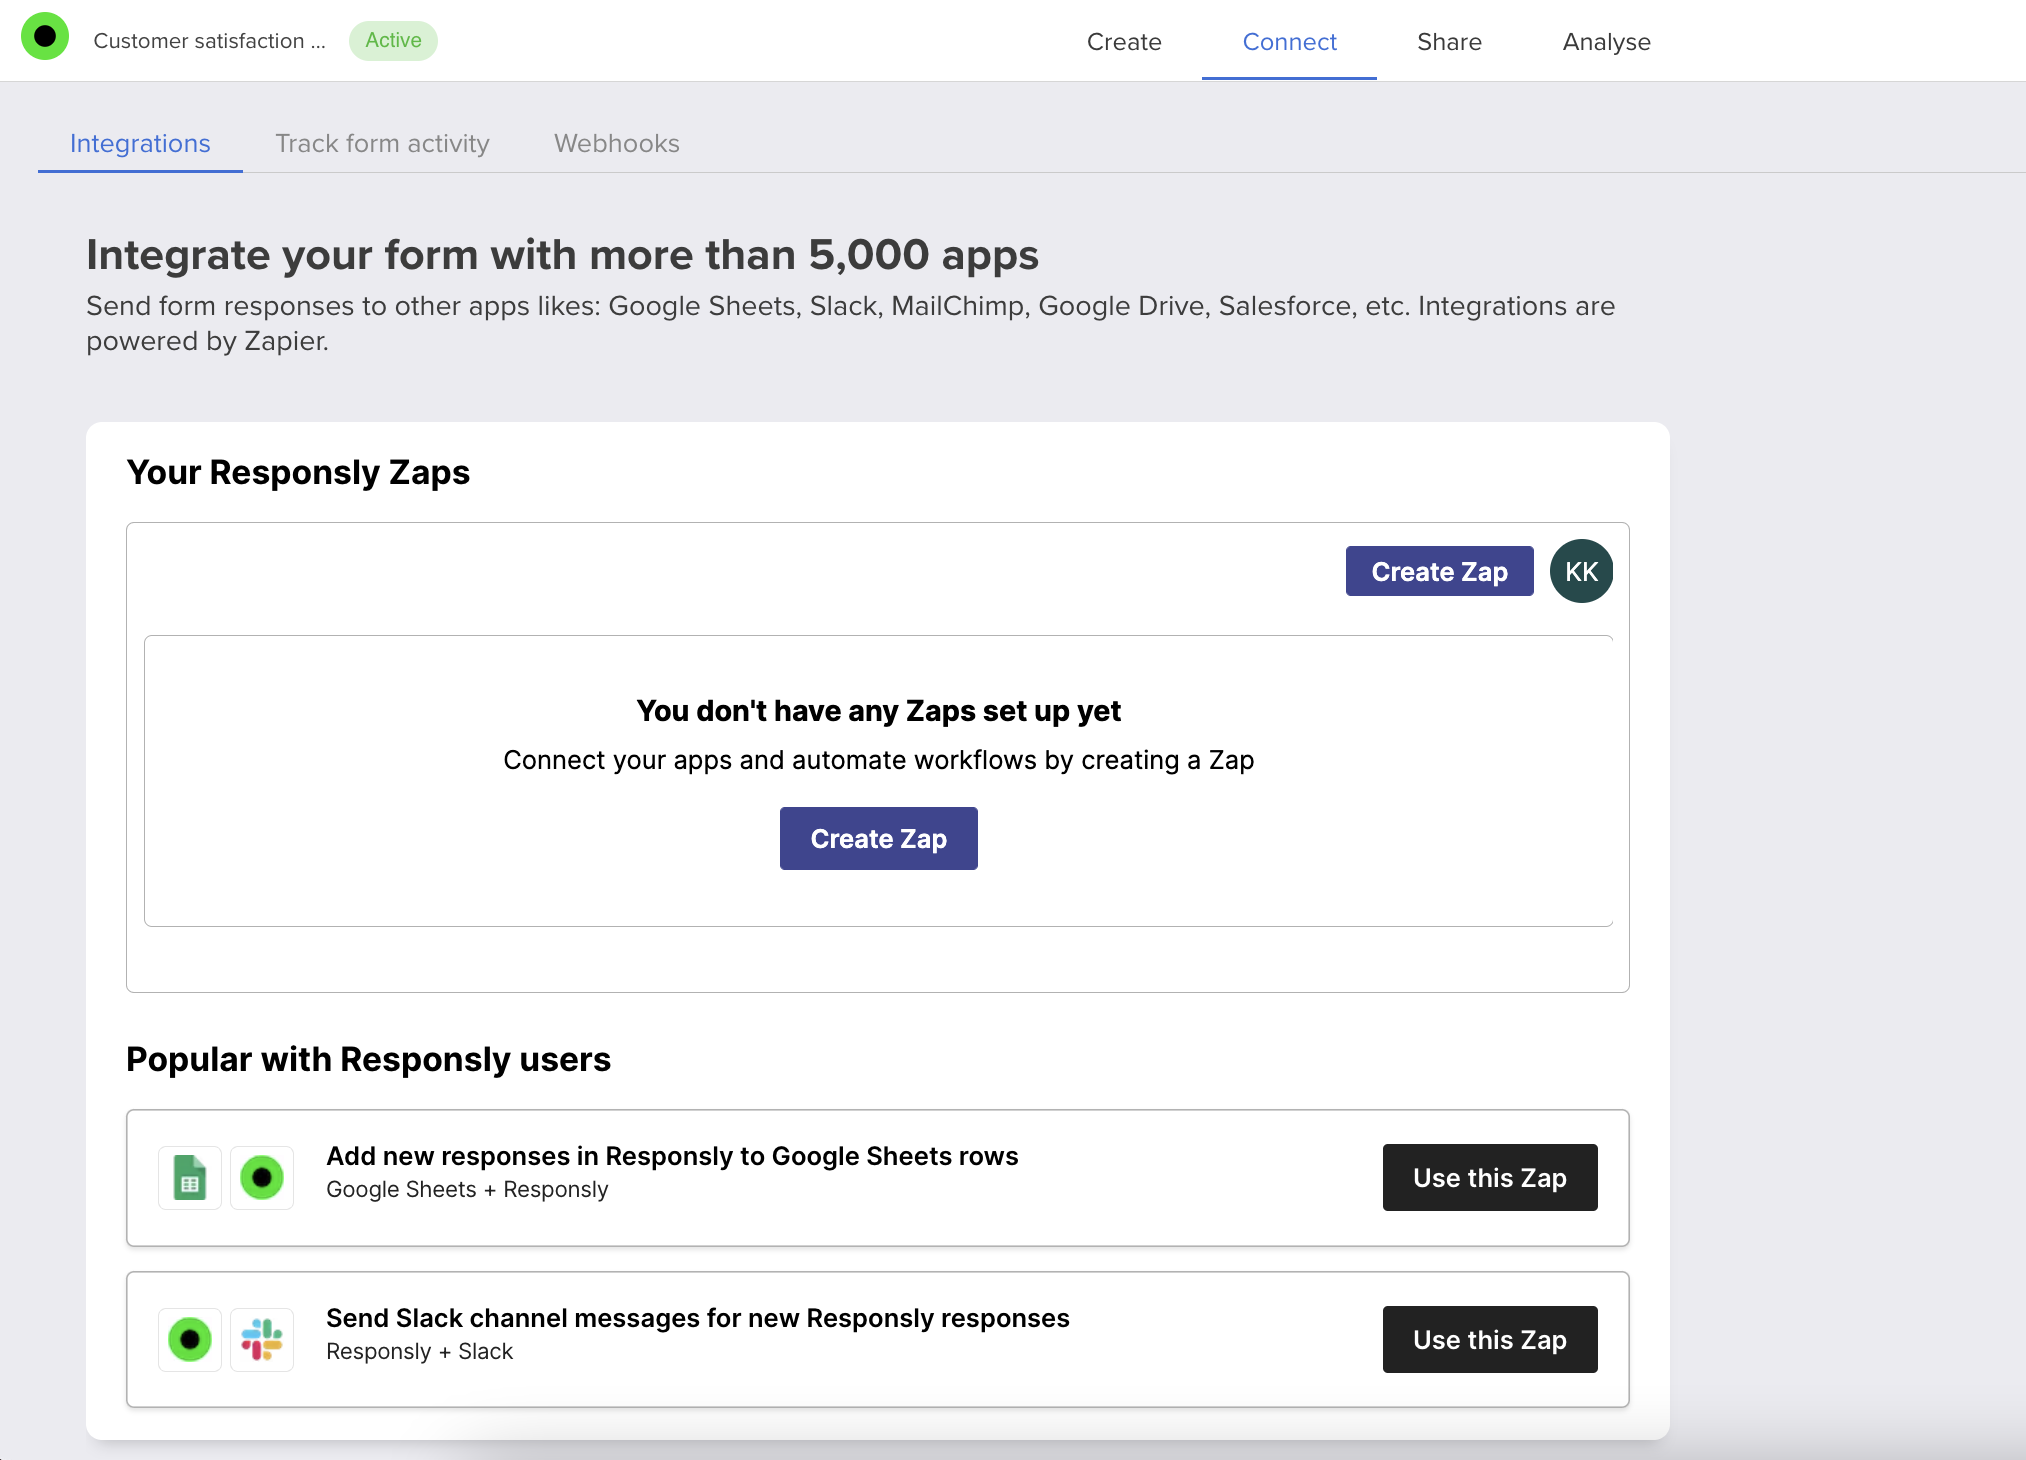
- Go to the Connect tab.
- If you’re not logged into Zapier, click Log in (or create a free Zapier account).
- Click Create Zap.
- When prompted, authorize Zapier by pasting the API key you generated earlier.

If you don’t see the authorization pop-up, make sure your browser allows pop-ups (check the URL bar or follow browser instructions for Chrome, Firefox, Opera, Edge, or Safari).
Step 3: Build your Zap
- Choose your Responsly form as the trigger.
- Select the app you want to send data to (e.g., Google Sheets, Slack, Microsoft Teams, Salesforce, Trello, Asana).
- Map the survey fields to the fields in your chosen app.
- Test the Zap to confirm the data flows correctly.
- Name your Zap and click Turn On.
Example use cases
- Google Sheets → Save all survey responses as rows in a spreadsheet.
- Slack or Teams → Send instant notifications when new responses arrive.
- Salesforce or HubSpot → Create or update contacts with survey data.
- Trello or Asana → Turn survey responses into tasks or tickets.
Summary
Once the integration is live, Zapier will automatically send your Responsly survey responses to the apps you choose. This keeps your workflows automated, your team updated, and your data exactly where you need it.


